
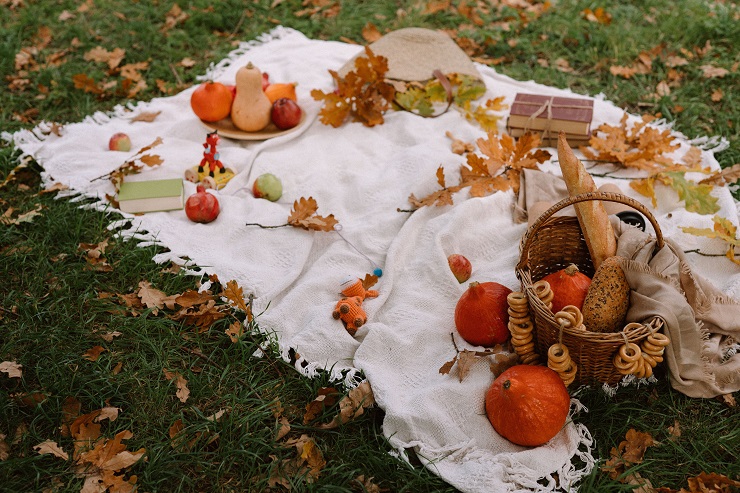
Decorations set the mood for any holiday. Whether you’re eating your Thanksgiving dinner outdoors by the pool or if you’re staying indoors and being cozy and warm, your autumn and Thanksgiving decorations welcome everyone to your home in a unique and beautiful way.
Autumn brings with it deep evergreen colors and a riot of orange, rust and bright red colors on the leaves. Chestnuts start falling to the ground, inviting us to scoop them up and roast them on an open fire. The scent of burning leaves wafts through the air and the crispness of the air lets you know that Thanksgiving is peeking around the corner.
How can you open the door to let it in and get ready for the season?
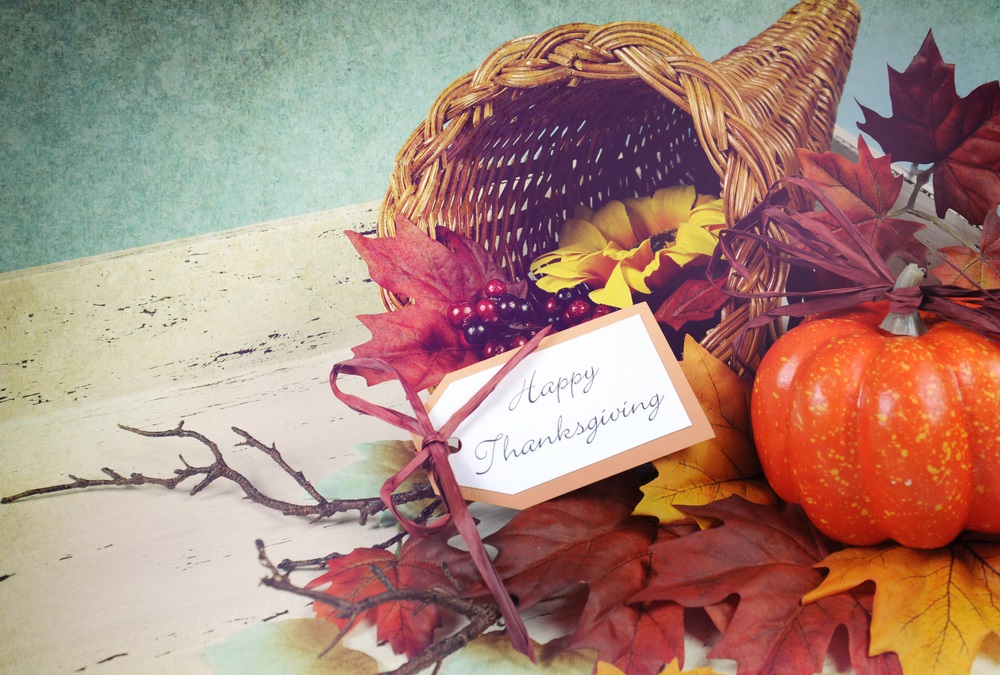
Decorate For Autumn & Thanksgiving
Decorating for autumn and for your Thanksgiving feast is easy because all of your decorations will do double duty and can be left up for a few weeks or even a month or more. Unlike those holidays that are a one-day duration, autumn decorations remain bright and inviting so your creativity stays front and center!
We have put together a few easy-to-make and budget-friendly decorating ideas to dress up your holiday home.
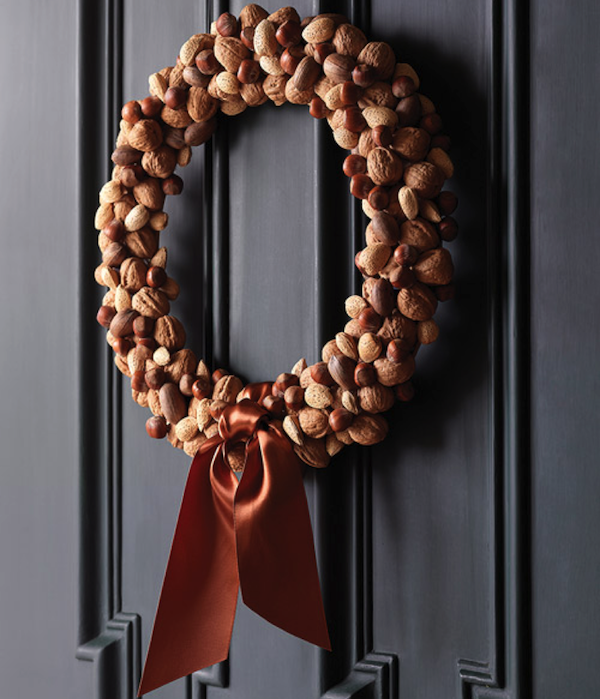
Nut Wreath
Source: Shelterless This decoration is not as easy as some of the others we’ve gathered, but you will enjoy this wreath throughout the season! A bonus to this wreath is that you can snack on the nuts while you create it!
Gather these items:
- A foam wreath, available at any craft store or craft section
- Burlap ribbon
- Scissors
- Hot glue gun and glue sticks
- Mixed nuts in season (and the kind you want to snack on!
- Spray on sealer
Instructions:
- Wrap the foam wreath with the burlap ribbon
- Secure this with hot glue.
- Apply a little bit of glue onto the nuts and stick it on the wreath, starting with the larger types of nuts like acorns and walnuts. Keep doing this until you’ve covered the entire wreath.
- Spray the entire wreath all over with a sealer
- Leave it outside to dry completely
- Display on your front door!
Sign Posts of Thanksgiving
Source: Pinterest Traditional a ‘Welcome to Our Home’ sign can be ho-hum. Create a whimsical sign and bring a smile to your face and to the faces of your guests.
- Get some wood planks
- Poles on which to mount them
- Autumn colored paints and paint brushes
- Your imagination to decide on the welcome message
- Pound the poles into the ground and welcome away!
Light up the night!
Source: DigsDigs Vintage lanterns are beautiful and practical. You can buy them from most any store or online. If they are LED lit you can decorate with fall leaves, evergreen boughs or even place pumpkins and gourds at their base to light the way and beautify the way.
Garlands of Thanks
Source: TaterTotsandJello String a garland across a fence, the fireplace mantle or even hung on the wall or up a staircase to bring an instant festive feel and of thanksgiving vibes. Buy Thanksgiving garlands from a craft store or buy the supplies and make them because that just makes them even more special.
Supplies:
- Grapevine garland (from arts and crafts store)
- Pack of wooden clothespins
- Colored glitter
- Mod Podge glue
- Scrapbook paper of different patterns
- Fabric rosettes, ribbons, autumn colored leaves
- Gorilla glue tape
- Fall floral picks
- Hot glue gun and glue sticks
- Tape measure
- Scissors
Instructions:
- Measure the area it will be strung.
- Cut the grapevine garland slightly longer than the length of the area where you will hang it.
- Tape either side of the grapevine garland across the room or tape it to a table because that will make it easier to put it together
- Take the Fall floral picks and cut them out so into individual pieces.
- Use the hot glue gun and glue pieces randomly across the length of the grapevine.
- Add the fabric rosettes.
- Get a wooden clothespin. Brush one side with a thin layer of mod podge. Sprinkle some glitter on the mod podge
- Shake out the excess.
- Set aside to dry completely.
- Cut leaf shapes from your scrapbook paper or use leaves from a craft store.
- Hang them onto the garland using the clothespins with the glitter side facing out.
- Tie the ribbons to either end of the garland and use this to secure the garland in place.
If you’re a “crafty” person you can easily set aside a few hours to decorate with handmade decorations. Consider inviting friends or family over to help make garlands or have a crafty afternoon and everyone can make and take their own decorations.