
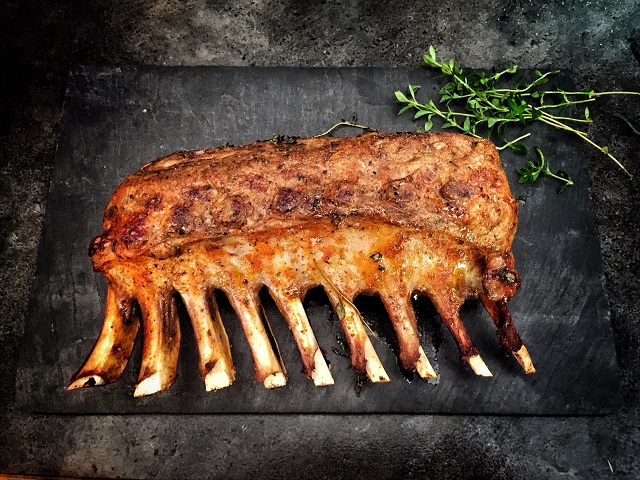
There’s not much that gets people fired up like ribs.
- Smoked
- Dry rub
- Wet rub
- Spicy
- Vinegar-based sauces
- Slow-baked in the oven with soda then grilled?
- Ketchup-based sauce
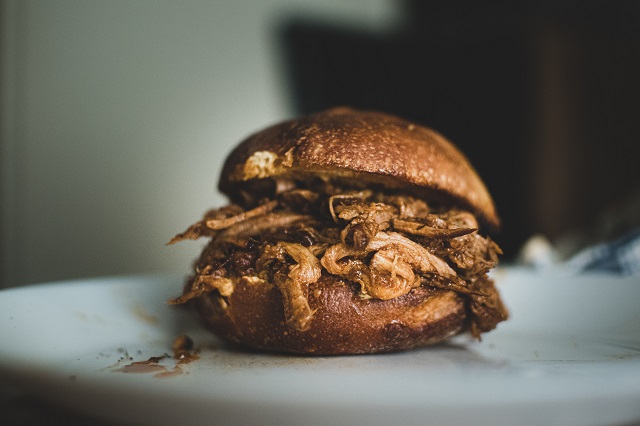
- Oh and let’s not forget pulled pork from a pork butt… that is an article for another time!
- Mustard-based sauce… you ee where we are going, right?
Ribs are definitely something that gets people talking! We do know that no matter how you cook them and sauce them — or don’t — they get people talking and bring out the outdoor grill master competitor in everyone!
Who Claims The Rib Master Title This Summer?
What steps should you take to be crowned Rib Master? We rounded up some info and want to impart this delicious information that you can pull out and earn that coveted title yourself!
Let’s get started on terminology:
- Tenderize
- Season
- Grill
- Baste
Tenderize. Tenderize. Tenderize.
Did we mention that you need to tenderize the ribs?
Here is another, um, bone of contention!
- Some grill masters swear by falling off the bone ribs
- Other grill masters swear there should be a bit of “tug” before you get to the meat.
On the road to great ribs:
- Remove the membrane from the back of the ribs
- Slice into the membrane with a sharp knife
- Pull it from the rib meat
- To tenderize, combine kosher salt with black and red pepper and set aside. The salt will tenderize and flavor the ribs.
- Rub the ribs with the cut side of a lime, squeeze juice as you rub. The citrus will impart a delicious flavor to the ribs that won’t detract from whatever else you put on them.
- Massage the salt and pepper mixture into the ribs
- Cover all sides of the meat.
- Another way to tenderize, once you’ve removed the membrane is to cook them low and slow
- Put them in a single layer in a baking pan
- Cover them with ginger ale, cola or rootbeer (you won’t taste it) but the soda tenderizes the meat
- Plan to cook low and slow (around 200 degrees for four or five hours)
Wrap ’em up
The ribs should be wrapped in plastic and chilled for eight hours. Trust me, you will not want to take a shortcut here. Your patience and your tastebuds will be rewarded.
Taking to the next level after the marinading
Following the marinading the rubs will be flavor-infused and ready for the best part — the hot, sizzling grill.
Decide what type grill you want — again — there are differences of opinion
- Smoker
- Charcoal
- Gas
No matter what you choose,
- Light the grill
- Let it heat it up to 350 and 400 degrees.
The ribs can stand at room temp while the grill heats up.
- Stack the ribs onto the unlit side of the grill.
- Leave them stacked, on the unlit side of the grill for up to 40 minutes on indirect heat
- After 40 minutes, rotate the ribs, move the top rack of ribs to the bottom and leave again under the indirect heat.
Trust us on this!
Now for the heat!
- Separate the slabs
- Baste them with your favorite bbq sauce or dry rub
- Lower the grill temperature to 300 degrees – medium heat.
- Place the racks of ribs side by side on the heated grill with the grill lid closed.
- Baste them occasionally
- Grill 30 minutes.
Remove from the heat and let them rest for ten minutes.
Now the time you’ve been waiting for! Dig in
We know it’s all about the meat, but you will probably want to serve some sides, right?
Our favorite homemade BBQ sauce
Gather your ingredients for this vinegar-based wet rub
1 cup ketchup
1/2 cup water
1/3 cup brown sugar
1/4 cup white vinegar
1 tbsp celery seed
1/2 tsp red pepper sauce
1/2 tbsp liquid smoke, if desired
Combine ingredients in a saucepan. Heat over medium heat for 15 minutes, stirring occasionally. Apply to ribs when they’re on the grill.
Enjoy!
Serve ’em up with sides
Your delicious ribs deserve delicious sides. Serve with a side dish of: grilled dill potatoes, corn on the cob, macaroni salad, tossed salad and your favorite cornbread.
Grilled dill potatoes
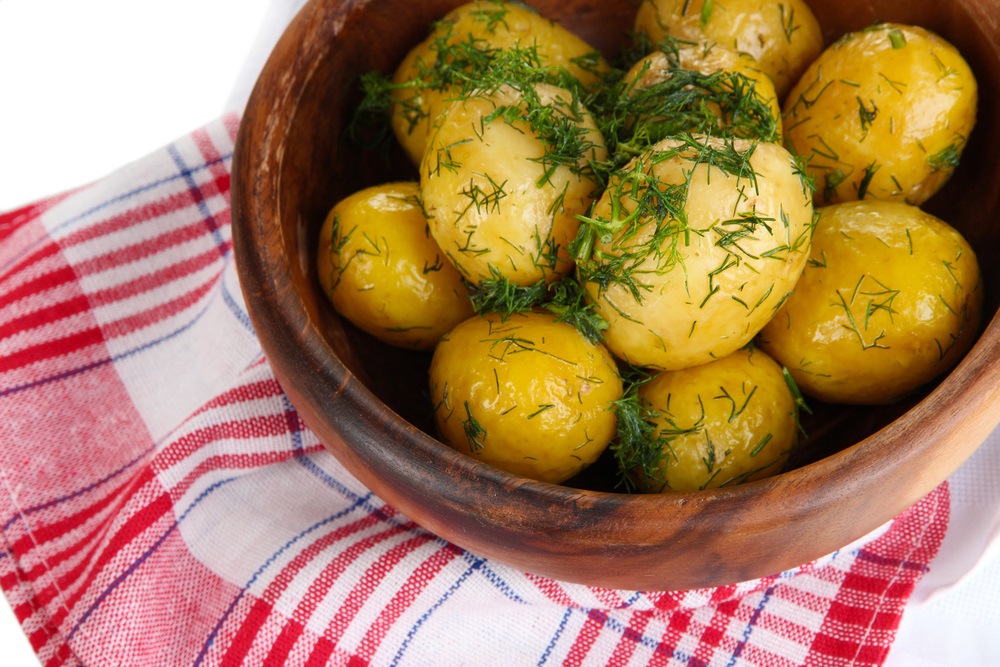
- Boil salt potatoes for five minutes
- Place on piece of foil
- Cover with olive oil
- Sprinkle salt and pepper
- Toss in dill sprigs
- Wrap up the potatoes in foil
- Place on indirect heat on the grill until cooked through
- Finish the potatoes off on the heated side to give them grill marks.
- Serve with sour cream or melted butter with a bit more dill
Dessert ideas
Grilled fruit is a delicious and nutritious way to end the meal
- Grab peaches, pineapple slices, pears and even watermelon or honeydew melon
- Slice peaches, rmove the pit. Slice pears and remove seeds. Slice melons — leave rind on.
- Brush with olive oil
- Grill on indirect heat until soft
- Serve along or with vanilla ice cream or whip up some homemade whipped cream
Cornbread in a cast-iron skillet is a crowd-pleaser, too. You can spice it up with jalapeno-blueberry cornbread. Or leave out the jalapeno and serve blueberry cornbread
- 1 cup cornmeal
- 1 cup + 2 Tbsp flour
- 2 tsp. baking powder
- 2 tsp. maple syrup
- 2 Tbsp coconut oil (or other neutral oil)
- 1 1/2 cup soymilk or milk of choice
- 3 Tbsp. jalapeño, small dice
- 1/2 c. fresh blueberries
Preheat the oven to 350F and grease an 8×8 baking pan.
- Combine the cornmeal, flour, baking powder in a large mixing bowl. Whisk.
- In a separate bowl combine the soy milk, maple syrup and coconut oil. Whisk and set aside.
- In a small bowl, take the blueberries and toss them with the flour. This will help prevent them from all sinking to the bottom.
- Combine the wet into the dry and mix well. Add in the jalapeños and blueberries. Mix.
- Pour the batter into the baking pan and bake roughly 30 minutes or until toothpick comes out clean.
Note: Adjust the amount of jalapeño to your liking. (Recipe from One Green Planet.org)